Spring Boot makes it easy to create production ready Spring-based applications.
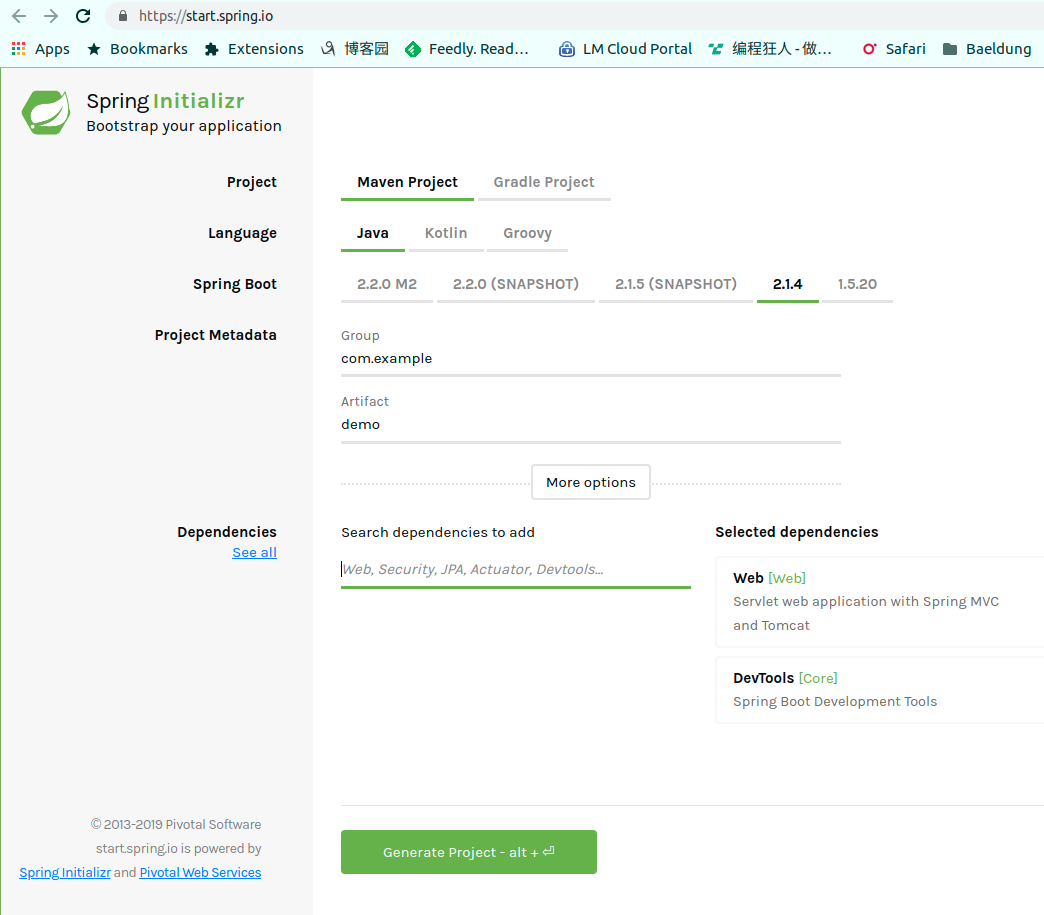
Getting Start Visit Spring initializr - https://start.spring.io/ . add ‘Web’ dependency. and click ‘Generate Project’ to generate Spring Boot project
You can use curl to download the project from https://start.spring.io/ too.
1
2
3
4
5
curl https://start.spring.io/starter.tgz \ -d dependencies=web,actuator \ -d language=java \ -d type =maven-project \ -d baseDir=demo-project | tar -xzvf -
For more information on Spring Initializr, see Spring Initializr Repo
The project can now be imported to IDE.
Adding Maven Dependency Add web dependency to pom.xml
1 2 3 4 <dependency > <groupId > org.springframework.boot</groupId > <artifactId > spring-boot-starter-web</artifactId > </dependency >
The complete pom.xml should look like this
1
2
3
4
5
6
7
8
9
10
11
12
13
14
15
16
17
18
19
20
21
22
23
24
25
26
27
28
29
30
31
32
33
34
35
36
37
38
39
40
41
42
43
44
45
46
47
48
49
50
51
52
53
54
55
56
57
58
<?xml version="1.0" encoding="UTF-8" ?> <project xmlns ="http://maven.apache.org/POM/4.0.0" xmlns:xsi ="http://www.w3.org/2001/XMLSchema-instance" xsi:schemaLocation ="http://maven.apache.org/POM/4.0.0 http://maven.apache.org/xsd/maven-4.0.0.xsd" > <modelVersion > 4.0.0</modelVersion > <parent > <groupId > org.springframework.boot</groupId > <artifactId > spring-boot-starter-parent</artifactId > <version > 2.1.4.RELEASE</version > <relativePath /> </parent > <groupId > com.example</groupId > <artifactId > hello-world</artifactId > <version > 0.0.1-SNAPSHOT</version > <name > demo</name > <description > Demo project for Spring Boot</description > <properties > <java.version > 1.8</java.version > </properties > <dependencies > <dependency > <groupId > org.springframework.boot</groupId > <artifactId > spring-boot-starter</artifactId > </dependency > <dependency > <groupId > org.springframework.boot</groupId > <artifactId > spring-boot-devtools</artifactId > <scope > runtime</scope > </dependency > <dependency > <groupId > org.springframework.boot</groupId > <artifactId > spring-boot-starter-web</artifactId > </dependency > <dependency > <groupId > org.springframework.boot</groupId > <artifactId > spring-boot-starter-test</artifactId > <scope > test</scope > </dependency > </dependencies > <build > <plugins > <plugin > <groupId > org.springframework.boot</groupId > <artifactId > spring-boot-maven-plugin</artifactId > <configuration > <fork > true</fork > </configuration > </plugin > </plugins > </build > </project >
Adding Controller Add controller to handle http request.
1
2
3
4
5
6
7
8
9
10
11
12
package com.example.demo.controller;import org.springframework.web.bind.annotation.RequestMapping;import org.springframework.web.bind.annotation.RestController;@RestController public class HelloController { @RequestMapping("/hello") public String sayHello () { return "Hello World" ; } }
Running Application The main method calls SpringApplication class’s run method to bootstrap our application.
1
2
3
4
5
6
7
8
9
10
11
12
package com.example.demo;import org.springframework.boot.SpringApplication;import org.springframework.boot.autoconfigure.SpringBootApplication;@SpringBootApplication public class DemoApplication { public static void main (String[] args) { SpringApplication.run(DemoApplication.class, args); } }
Now run the application using the main method. go to http://localhost:8080/hello to see the output.
Alternatively, you can run as maven project
If you are a gradle user, execute bootRun task instead
Go to http://localhost:8080/hello and the result page will show text
Adding Junit Test 1 2 3 4 5 6 7 8 9 10 11 12 13 14 15 16 17 18 19 20 21 22 23 24 25 package com.example.demo.controller;import org.junit.Test;import org.junit.runner.RunWith;import org.springframework.beans.factory.annotation.Autowired;import org.springframework.boot.test.autoconfigure.web.servlet.WebMvcTest;import org.springframework.test.context.junit4.SpringRunner;import org.springframework.test.web.servlet.MockMvc;import static org.springframework.test.web.servlet.request.MockMvcRequestBuilders.get;import static org.springframework.test.web.servlet.result.MockMvcResultMatchers.content;import static org.springframework.test.web.servlet.result.MockMvcResultMatchers.status;@RunWith(SpringRunner.class) @WebMvcTest(HelloController.class) public class HelloControllerTest { @Autowired private MockMvc mockMvc; @Test public void shouldReturnMessage () throws Exception{ this .mockMvc.perform(get("/hello" )).andExpect(status().isOk()) .andExpect(content().string("Hello World" )); } }
see source code at github
Creating Executable Jar To create an executable jar(fat jar)spring-boot-maven-plugin in our pom.xml file. The project generated by Spring initializr adds spring-boot-maven-plugin in pom.xml already.
1 2 3 4 5 6 7 <plugin > <groupId > org.springframework.boot</groupId > <artifactId > spring-boot-maven-plugin</artifactId > <configuration > <fork > true</fork > </configuration > </plugin >
Run mvn package will generate the executable jar file. use java -jar command to run the jar. The executable jar is ready for production deployment.
Online Tutorials
Reference