Deploy React Application to AWS S3
Here are the detailed steps needed to deploy a React application to AWS. These steps applies not only to React, but any front end web applications.
- First we deploy the web app to S3 bucket and set up static site hosting
- Register a custom domain and create SSL certificate associated to the domain
- Setup CloudFront distribution
- Configure Route 53 to route traffic to the cloudFront distribution
Deploying React Application
Build React App
First create a simple React application and cd to the directory. If you already have a web application, you can skip here.
1
2
npx create-react-app testapp
cd testappThen build the application
1
npm run build
Enable website hosting
Go to AWS S3 Console at https://console.aws.amazon.com/s3/ and create a bucket
Choose Properties
Under Static website hosting click Edit. Check the checkbox to enable website hosting. Then set index file, for react app, the index file is
index.html.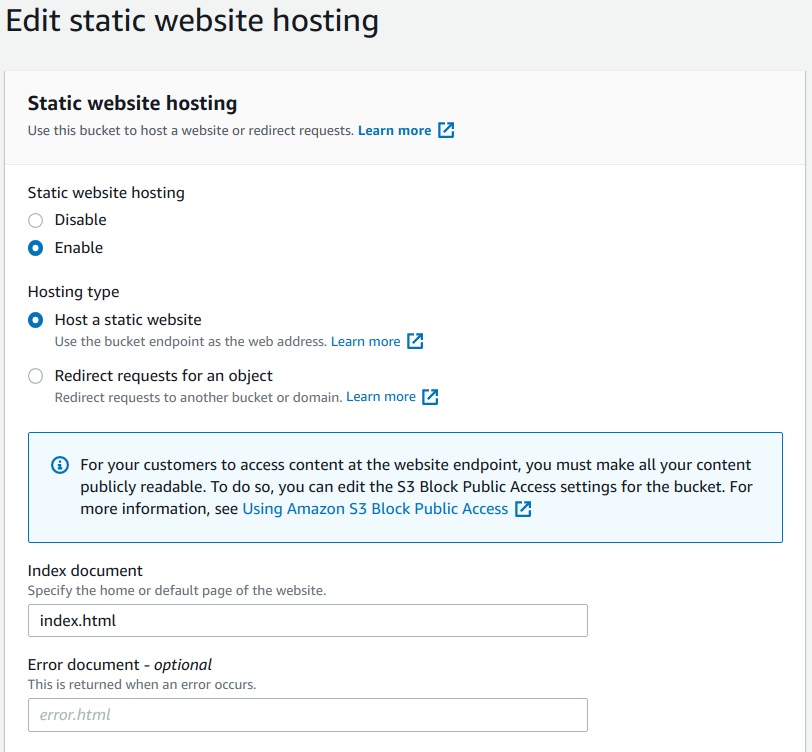
Save Changes and note the Endpoint. The Endpoint is the Amazon S3 website endpoint for your bucket.
Setting permissions for website access
When you configure a bucket as a static website, if you want your website to be public, you can grant public read access.
Go to AWS S3 Console at https://console.aws.amazon.com/s3/ and select the bucket created
Choose Permissions
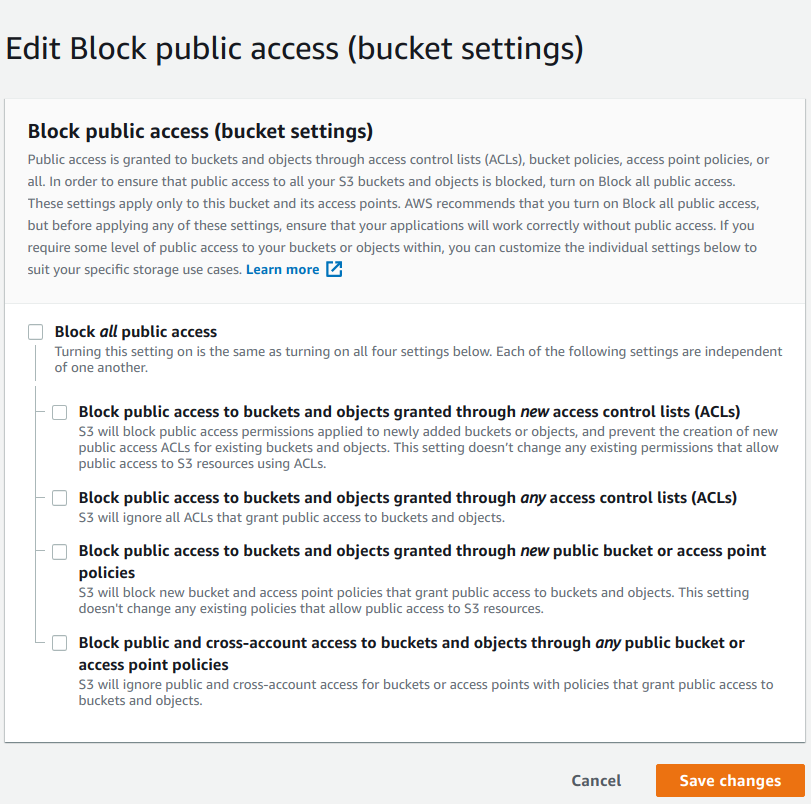
Under Block public access (bucket settings), choose Edit. clear all checkboxes and save Changes.
- Choose Permissions tab and Edit Bucket Policy. add the following policy.
1
2
3
4
5
6
7
8
9
10
11
12
13
{
"Version": "2012-10-17",
"Id": "Policy1608922285404",
"Statement": [
{
"Sid": "Stmt1608922283381",
"Effect": "Allow",
"Principal": "*",
"Action": "s3:GetObject",
"Resource": "arn:aws:s3:::name-of-the-bucket/*"
}
]
}
This creates a bucket policy that grants everyone s3:GetObject permission.
Deploy React App to S3 Bucket
Upload the react application to S3 bucket
1 | aws s3 sync build/ s3://name-of-the-bucket |
React application is deployed to S3 now. The endpoint can be found in static website hosting property of the S3 bucket.
The format of the endpoint looks like this: http://name-of-the-bucket.s3-website-us-east-1.amazonaws.com/.
Register a Custom Domain
You can easily register a domain using AWS’s Route 53 service. Just need to choose a unique domain name and provide some personal information. The registration may take some time to finish.
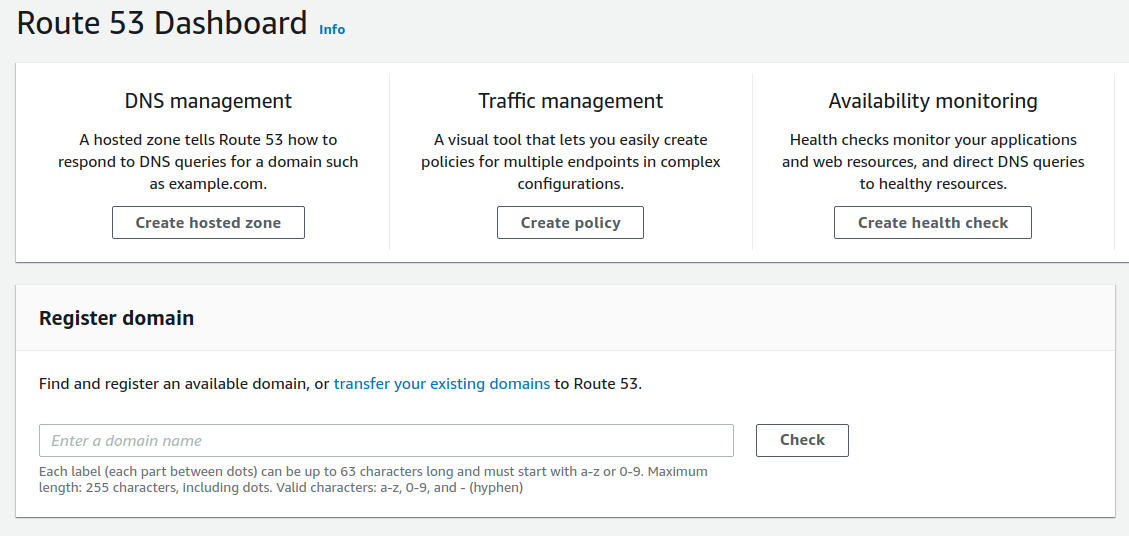
route53 dashboard
After registering a domain, you can see the domain appear in the Hosted zones. You can find the DNS Records for the domain here.
Create SSL Certificate
AWS Certificate Manager (ACM) handles the complexity of creating, storing, and renewing public and private SSL/TLS X.509 certificates and keys that protect your AWS websites and applications.
You can Request a certificate in Amazon Certificate Manager.
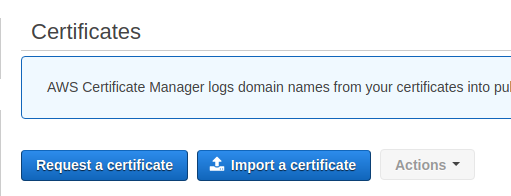
select Request a certificate
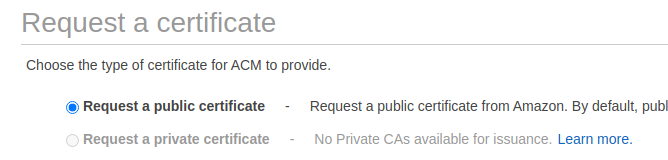
select public certificate
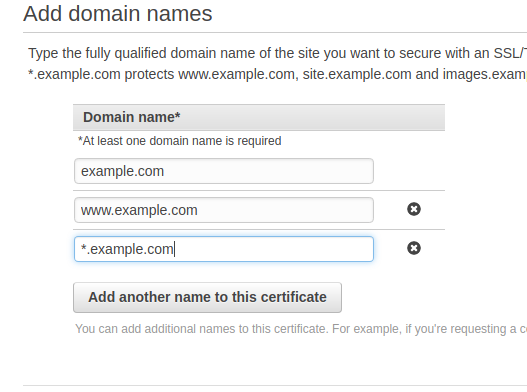
Enter domain name here, replace domain with the requested domain from route53
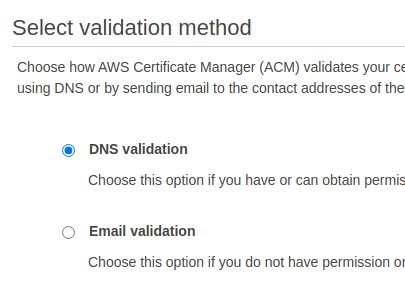
select DNS validation
In the validation step, click Create record in Route 53 button for all domain names. When the Certificate status is Issued, You are ready to move to CloudFront distribution.
CloudFront Distribution
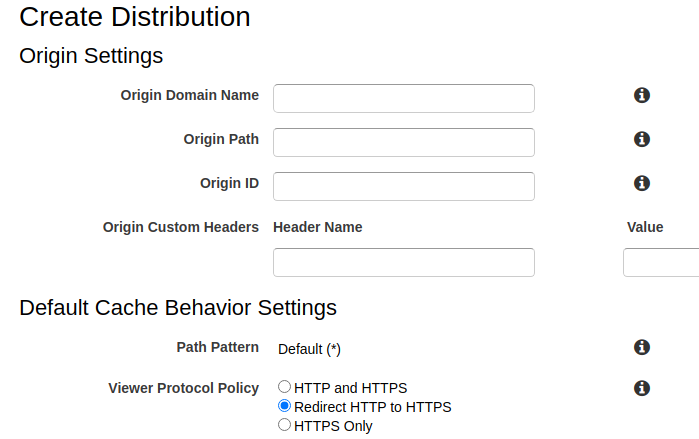
Open CloudFront to create the Distribution.
For Origin Domain Name, use the url for the original S3 bucket URL: http://name-of-the-bucket.s3-website-us-east-1.amazonaws.com/. Select Redirect HTTP to HTTPS Protocol Policy.
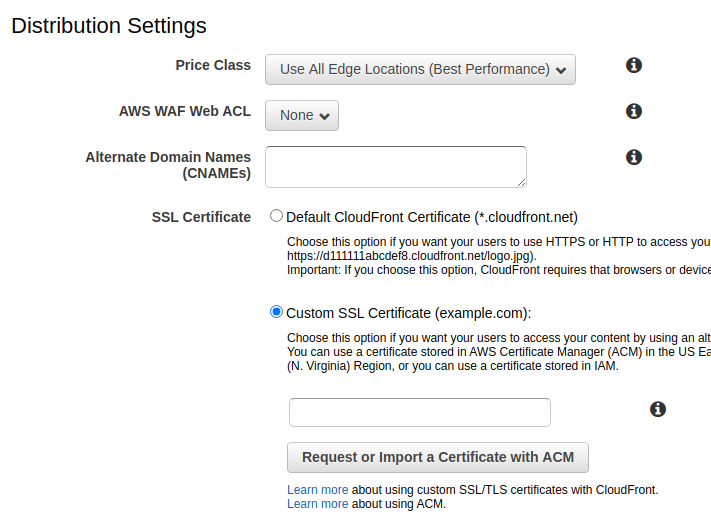
In Distribution Settings, Set Price Class to be Use Only U.S., Canada and Europe. This will reduce cost.
Add the custom domain to Alternate Domain Names(CNAMEs).
Check Custom SSL Certificate(example.com) checkbox. Then Select the SSL certificate for the custom domain.
If you don’t want to use a custom domain, then use CloudFront domain name(*.cloudfront.net).
After setting up CloudFront, The cloudfront domain for the distribution(*.cloudfront.net) should be accessible. However, to use the custom domain, you need to configure Route53 to route traffic to Cloudfront.
Configure Route53 to Route Traffic to CloudFront
Go to Route 53, select Hosted zones and click on the Domain created earlier.
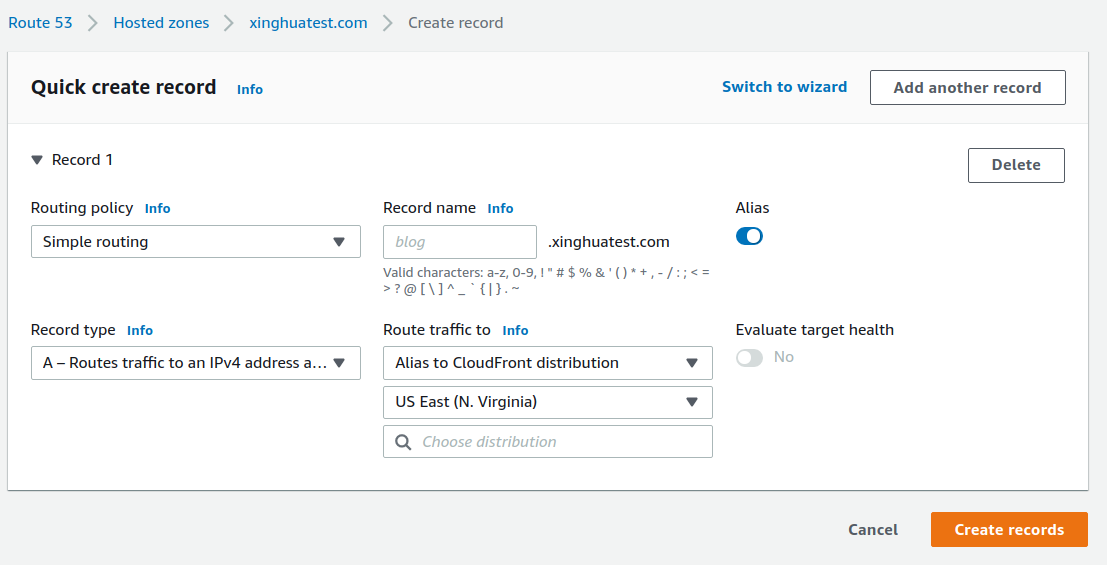
Click Create record to create a A record to route traffic to cloudfront.
Select Alias and route traffic to the cloudfront distribution we setup in the previous step. Make sure the domain(*.cloudfront.net) matches the cloudfront distribution domain.
Click Create records.
This is the last step. After a few minutes, you should be able to access the web application using the custom domain.